Overview
In this tutorial, we'll walk you through building an old-timey internet guestbook. (Trust me, they were all the rage back in the day.) We'll examine how the project is constructed, starting with the smart contract, then turn that deployed contract into a "bindings package" we can integrate into our frontend. To authenticate users we'll use Stellar's passkey support via Smart Account Kit, giving each user their very own OpenZeppelin Smart Account. After this tutorial, you'll have a solid understanding of how smart contracts and web applications can work together, plus practical examples for integrating passkey-powered smart wallets into your own projects.
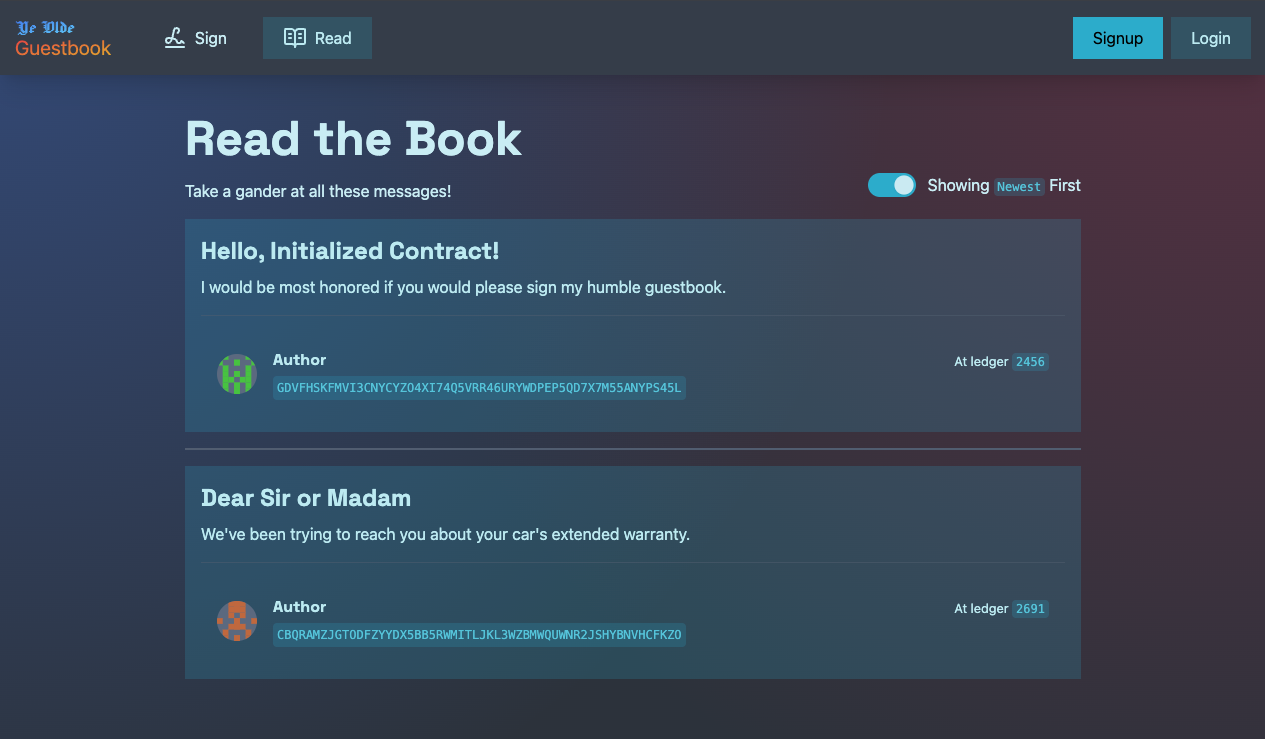
For this tutorial, we'll walk through the steps as we build a sample application we've called Ye Olde Guestbook1, which will be used to showcase various features.
Although Ye Olde Guestbook is a full-fledged application on Stellar's Testnet, it has been built solely to showcase Stellar functionality for the educational benefit of the Stellar community. It should not be deployed and used on Stellar Mainnet.
Project Setup
Project Requirements
To build this guestbook application, we'll need a few pieces.
- Application framework: we're using SvelteKit with TypeScript. SvelteKit (and Svelte on its own) is quite a capable framework, and we'll be using some of its features in this project. The source code is freely open and available with informational comments throughout if you'd like to peruse it.
- Frontend framework: Skeleton simplifies working with Tailwind CSS.
- A way to interact with the network: this is a TypeScript application, so we're using
@stellar/stellar-sdkto build transactions and work with keypairs. - A way to interact with a user's account: we're foregoing traditional wallets here, and using Smart Account Kit to give each user a smart account they unlock with a passkey (Touch ID, Face ID, a hardware key, etc.). Smart Account Kit is the successor to
passkey-kit; it targets the audited OpenZeppelin Smart Account contracts and integrates natively with the OpenZeppelin Relayer for fee sponsorship. - A relayer for fee sponsorship: the OpenZeppelin Relayer (Stellar Channels plugin) submits our users' transactions on-chain without exposing them to fees or sequence-number management. It replaces the retired Launchtube service.
While we use the above components to construct our application, we've worked to minimize dependency on any one of them. Ideally you should be able to lift most of the TypeScript code we've written into another framework with minimal effort.
Some choices we've made during the course of development:
- Some of the non-Stellar components lean into the Svelte way of doing things, but we've tried to keep them translatable to React, Astro, etc.
- A single deployment of the app interacts with a single deployment of the smart contract. This is for simplicity's sake.
- There's a mix of client- and server-side logic. The one sensitive credential in the project (the relayer API key) lives in server-only code, which SvelteKit keeps out of the browser bundle.
- We've chosen a theme from Skeleton, so it looks nice right away.
- We're deploying to a free-tier Vercel project using
@sveltejs/adapter-vercel, which gets the whole app (static assets and the server route that proxies the relayer) deployed as a single site. We've had really good success getting SvelteKit and Stellar projects up this way with very little configuration. Your mileage may vary, but it's a pretty decent starting point. - The app is not as performant or optimized as it could be. We've prioritized readability so you can trace functionality easily.
- We do some error handling, but not nearly as much as a production app would need. If something seems off, open your browser's dev console, which is usually where the answer lives.
- There's no automated testing. You'll want some for your own application.
This tutorial is "nearly comprehensive." We won't walk you through every file, and the files we do cover may not be entirely present or explained. We'll cover the basics and point to the codebase for the full picture.
Dev Helpers
- Smart Account Kit: TypeScript SDK for creating and managing Stellar smart accounts (the successor to
passkey-kit). - OpenZeppelin Smart Account: the audited contract framework each user's smart account is deployed from.
- OpenZeppelin Relayer (Stellar Channels guide): the hosted relayer service. Similar to a Paymaster in the EVM world.
- Stellar Lab: an experimental playground for interacting with the Stellar network.
Getting Started
Here are the steps we've taken to start building Ye Olde Guestbook. Feel free to be inspired and customize these directions as you see fit. The entire Ye Olde Guestbook codebase is freely open and available on GitHub for reference.
Start from the stellar-template repository
With the move to smart contract development, a newly emerging utility in the Stellar ecosystem is the "Stellar template." These templates can help alleviate the burden of writing boilerplate code, and can help adapt typical Stellar development workflows into framework-specific reference templates. We've created just such a template that can help you get started developing with SvelteKit and passkeys from the very beginning. You can either use the template on the GitHub website:
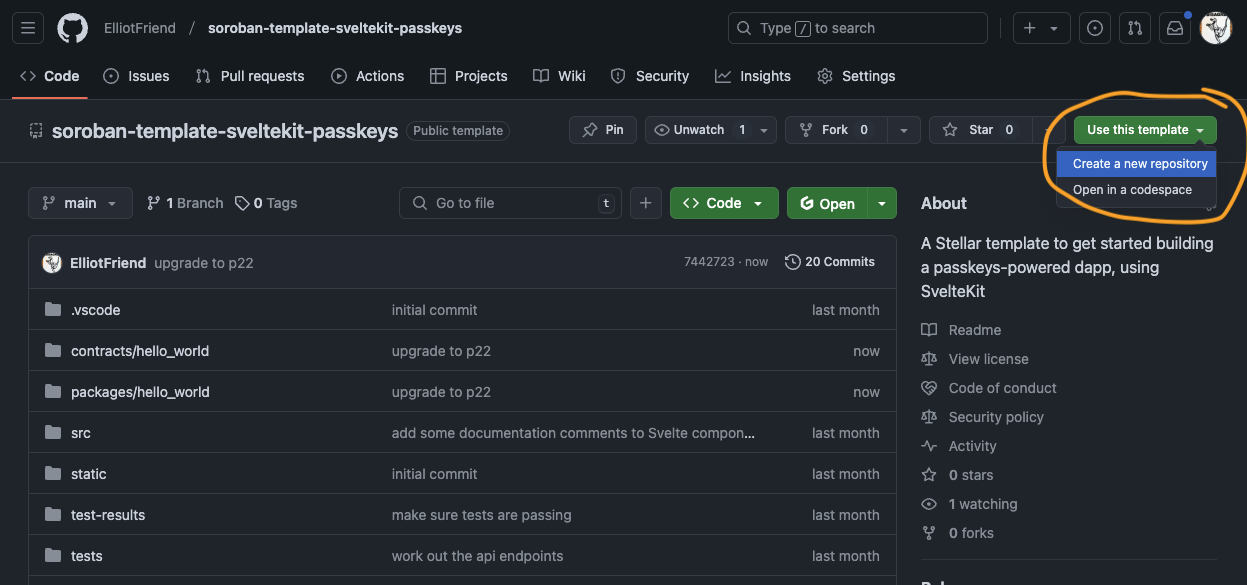
Or, you can (fork and) clone the template repository locally, and start working that way:
git clone https://github.com/ElliotFriend/stellar-template-sveltekit-passkeys ye-olde-guestbook
cd ye-olde-guestbook
This frontend template will give you some scaffolding and some (opinionated) defaults. What you do from there is up to you!
This template will give you a few things to help you hit the ground running:
- a starter
/contractsdirectory with ahello_worldcontract in it, - a pre-configured set of dependencies and packages, including the
hello_worldbindings package, - boilerplate smart account logic already wired up in
src/lib/smartAccountClient.ts, alongside the/api/sendroute that proxies the relayer, - an initialization script to deploy contracts and generate bindings for them, and
- a ready-to-customize SvelteKit site, written using TypeScript.
What more could you want!?
Prefer to read the finished thing rather than build up to it? The guestbook repository is the same app at the end of this tutorial, so you can clone that instead and follow along in the source:
git clone https://github.com/ElliotFriend/ye-olde-guestbook
cd ye-olde-guestbook
Set up the .env file
The template comes with a .env.example file that you'll need to modify. First, copy or move it to .env:
cp .env.example .env
Then open up the .env file and begin customizing the entries you need. If you're planning to run on Testnet (and you should start there), there's exactly one value you have to supply yourself:
# OpenZeppelin Channels relayer (Testnet). Generate an API key at
# https://channels.openzeppelin.com/testnet/gen
PRIVATE_RELAYER_API_KEY=<paste-your-testnet-channels-api-key>
You may also want to change the identity the initialization script uses when it deploys your contract:
PUBLIC_STELLAR_ACCOUNT=stroopy # you're welcome to use stroopy, but if you have another name you'd prefer, put that here
The Smart Account Wasm hash and WebAuthn verifier address come pre-filled with the shared Testnet deployment values, so there's no action needed there unless you want to pin to a different deployment.
Install dependencies
pnpm install
We're using pnpm in this tutorial because it handles SvelteKit + Stellar projects reliably, but the commands translate straightforwardly to npm or yarn if you prefer.
Next up, let's look at the smart contract at the heart of the project.